It’s been over a year since I last deconstructed how a game does its procedural generation. Today we’ll be looking at Planet, a 2016 cosy design toy by one of my favourite developers, Oskar Stålberg.
Planet is half tech-demo, half game, and all magic. It’s not at all easy to see how it works, but fortunately I’ve got most of the details from twitter threads and discussions with Oskar himself.
There’s a lot of good techniques at play here, many of which went on to feature in later projects like Bad North and Townscaper. Let’s do a deep dive into exactly how it works.
Table of Contents
Around the World
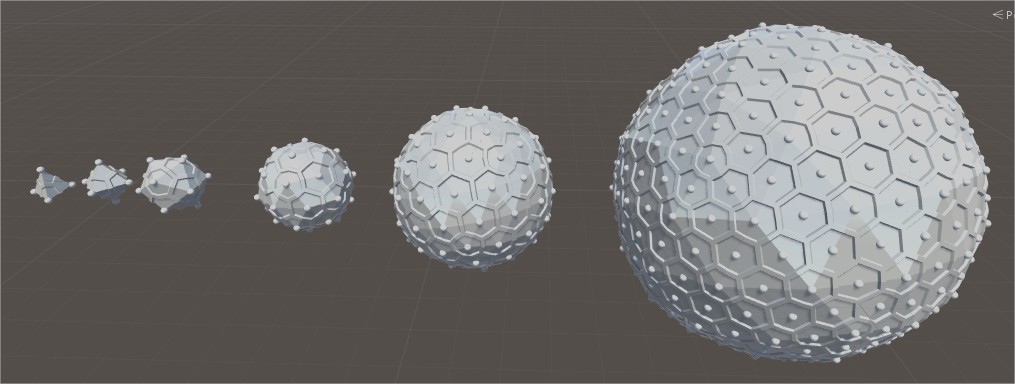
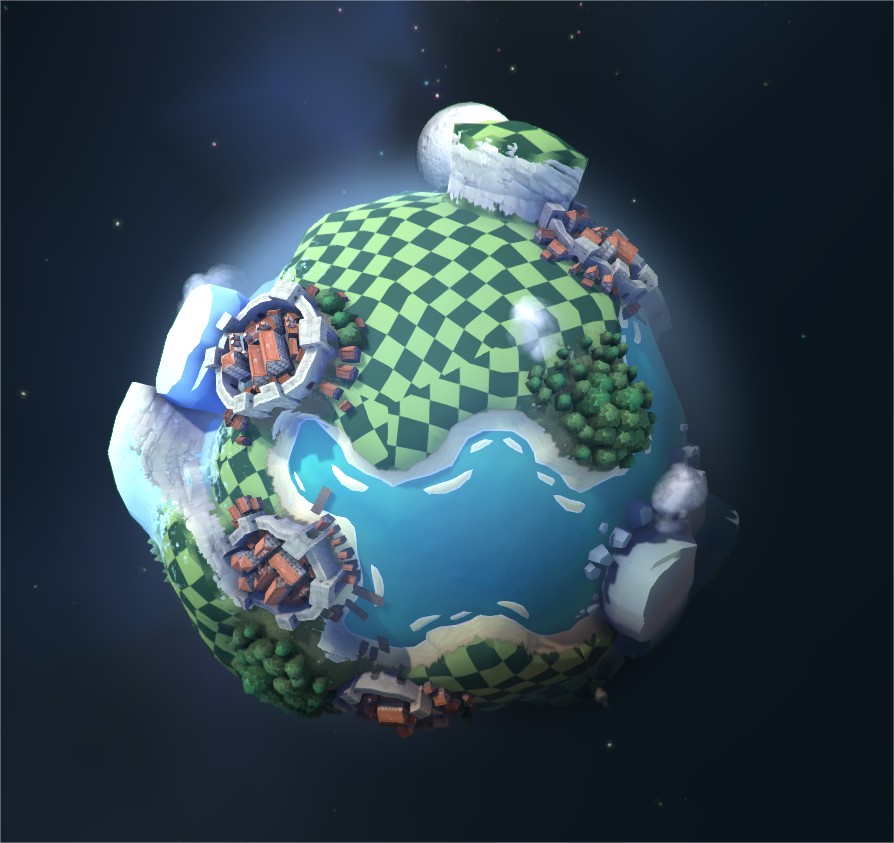
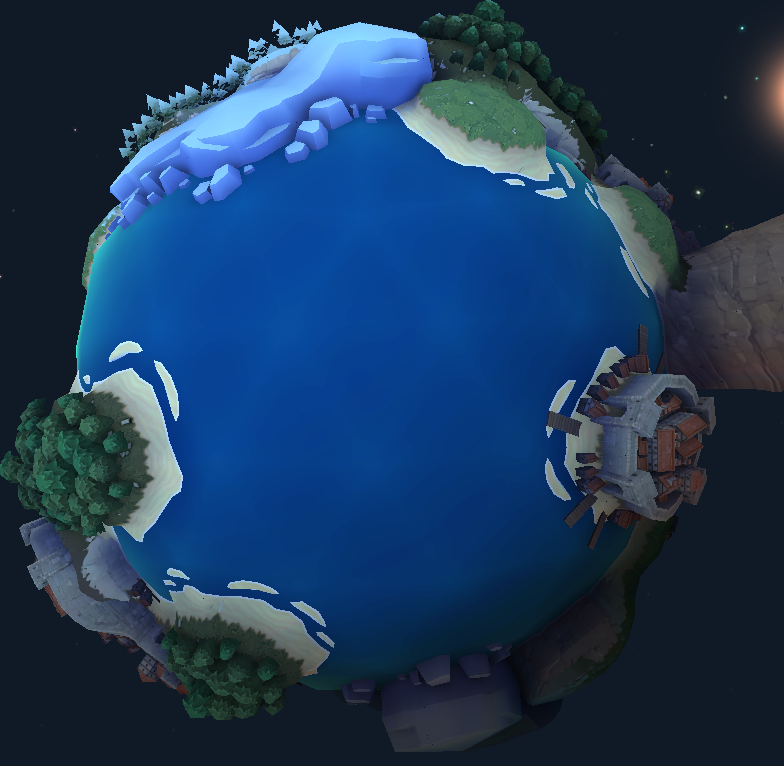
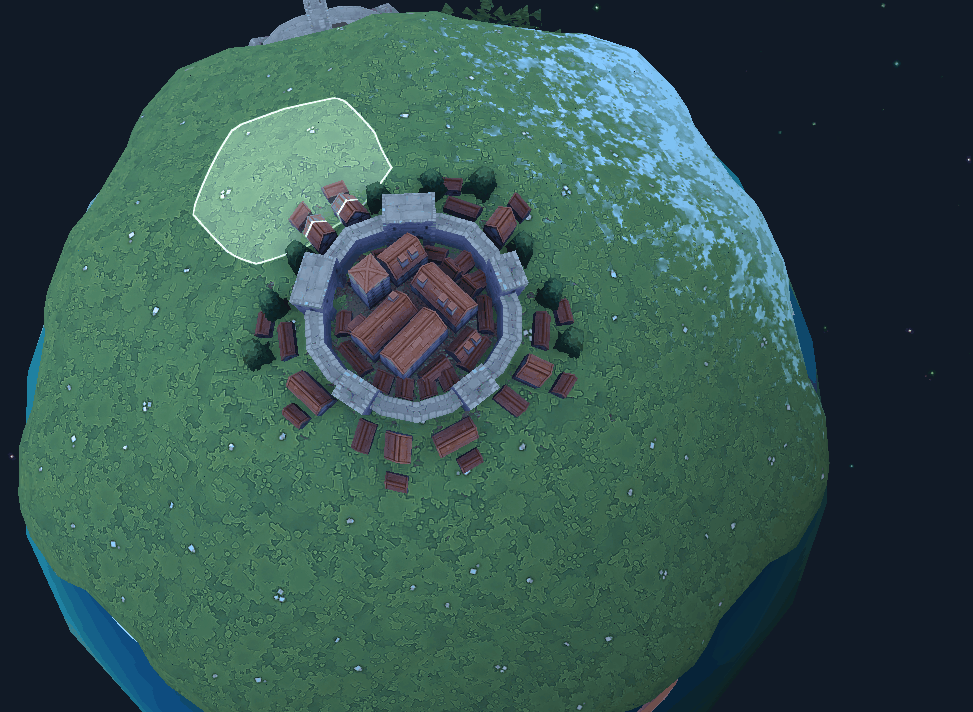
The most distinctive part of Planet is that it takes place on a globe. It looks round, but in fact, the whole world is a geodesic sphere.
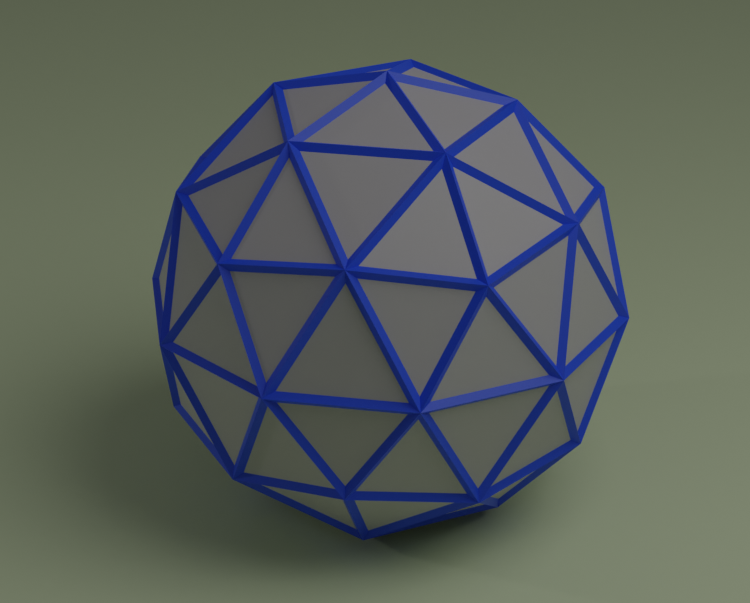
A geodesic sphere approximates a true sphere, and is made entirely out of triangles. The triangles aren’t all the same shape, but they’re all approximately equilateral.
In Planet, triangles in this base geodesic sphere are covered by pre-authored tiles, which then forms the surface of the planet. You can just see the tiles if you stare at the ocean closely.
The pre-authored tiles are all based on equilateral triangles, so they need a little warping to fit the base sphere precisely, but it’s not really visible. As the original tiles are equilateral, they can connect to each other as a triangle grid, which makes it much easiest to design them to connect up – you don’t need worry about the curvature of the planet at all.
In fact, in the development phase, Oskar experimented with using the tiles on flat plane.
Dual Grid
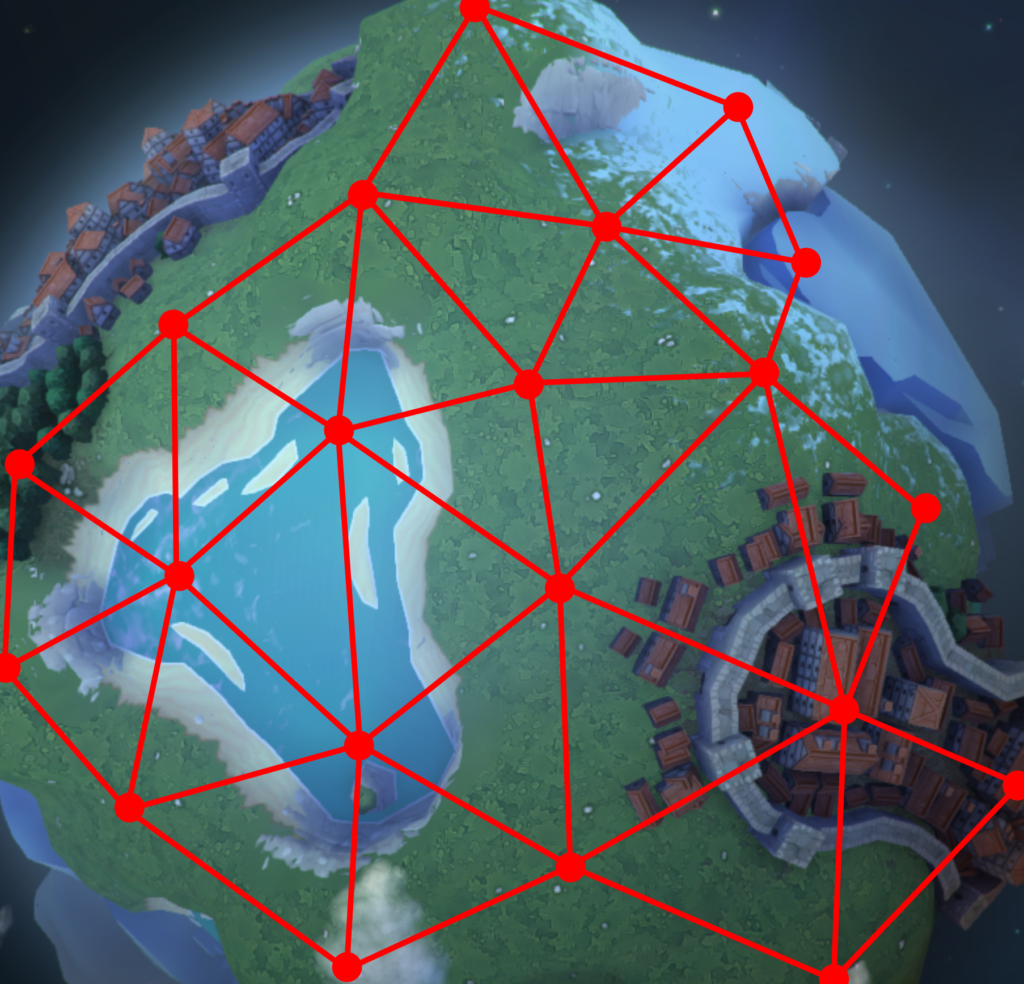
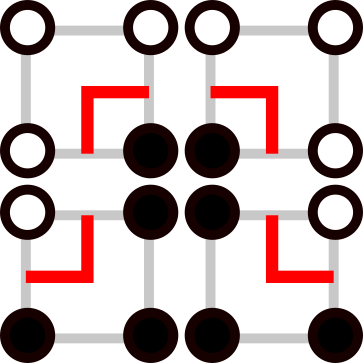
When you, the user, make edits to Planet, you don’t directly edit what tiles are used. The cursor automatically snaps to the nearest vertex (triangle corner) of the base sphere. And each click sets hidden variables that are stored per vertex. There’s two variables – height and terrain type.
After a vertex has been changed, Planet recalculates all tiles that touch that vertex – each triangle has three corners, so we get three sets of two variables to decide what tile should be put there.
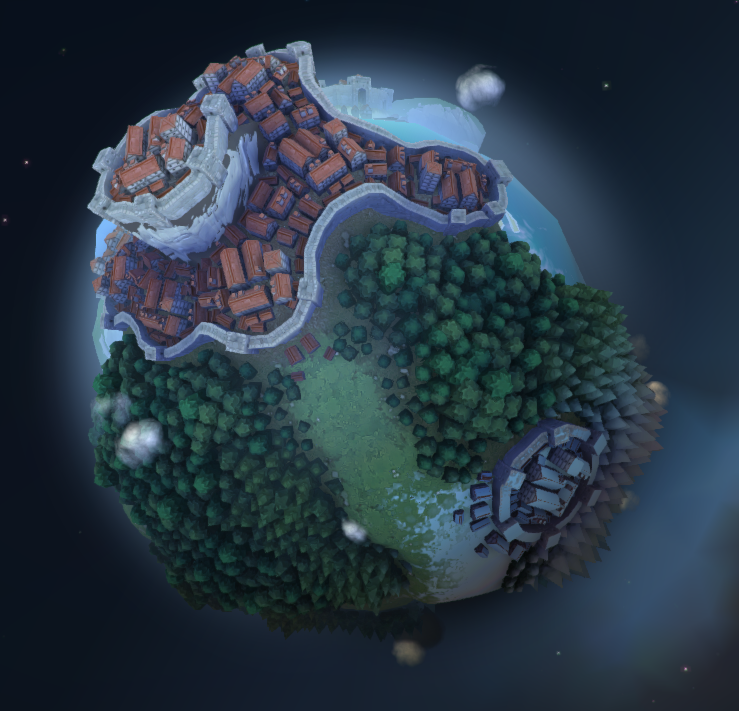
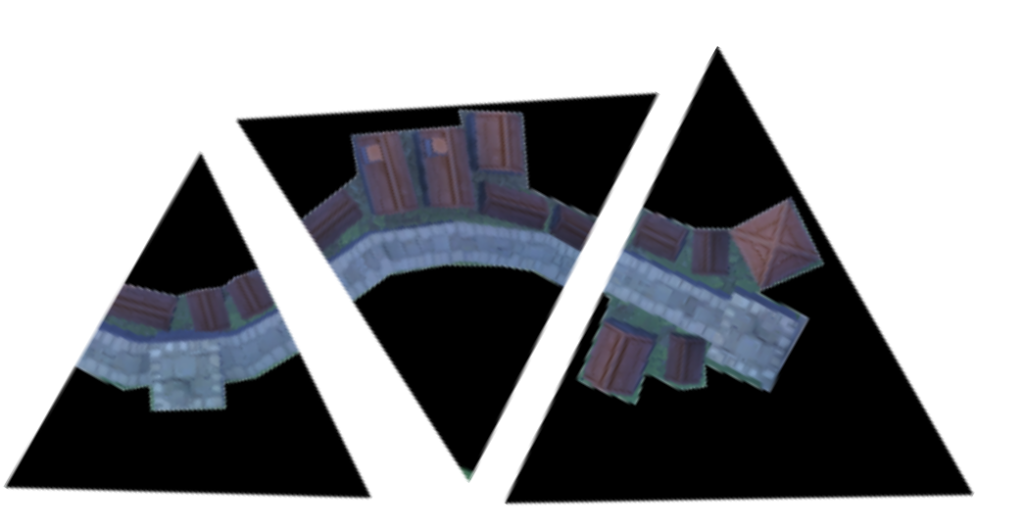
Typically, there are six triangles around any vertex, but there are a few rare spots where there are only five. These are easiest to spot with the city terrain type, on these special squares there will be only 5 gatehouses on the city wall.
This style of selection, where the user sets data on the corners, then tiles are selected based on those, has been a staple of Oskar’s work since Brick Block, and he’s written a good thread on it.
He refers to the “dual” grid, which is a grid constructed from the base grid (also called “primal”). To create a dual grid, draw one vertex in the center of every face of the base. Then draw an edge between two dual vertices if the corresponding base faces share an edge. You end up with a new grid which has one face in the dual for every vertex in the base, and visa versa.
In this particular case, the base grid is a geodesic sphere, so the dual is called a Goldberg Sphere.
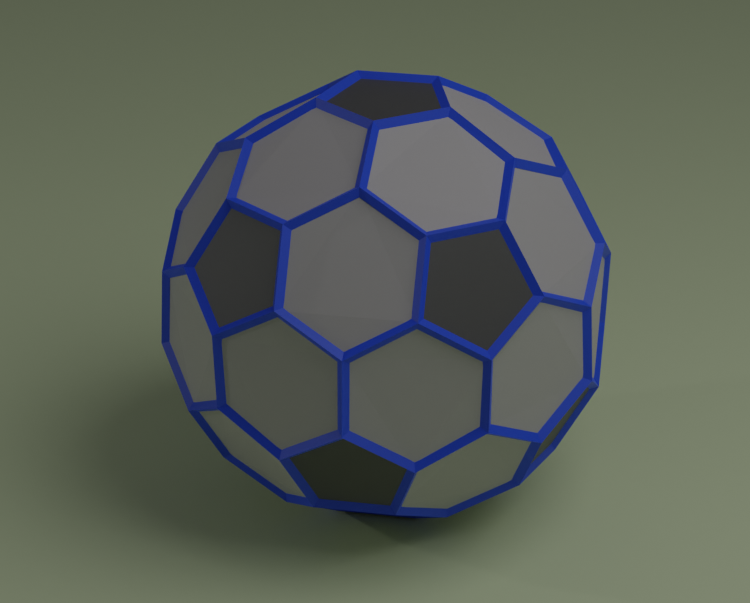
As you can see, a Goldberg sphere is made out of hexagons and exactly 12 pentagons, like a soccer ball. Those pentagons correspond to the places in Planet where there’s only 5 triangles around a point. In fact, the circular reticule used in the game is simply showing which face of the dual grid the mouse is over (with rounded corners).
Tile Selection
In his earlier project Brick Block, the selection process that takes data stored on base vertices (or equivalently, on dual faces), and picks which tile to use is simply Marching Cubes, which I’ve written upon before.
But Planet doesn’t work that way. There’s 8 possible heights for the terrain and 4 different terrains. And that’s for each of 3 corners of the triangle. You’d need to construct \( (8\times 4)^3 \) different tiles to cover all the combinations. Even using rotations and reflections, this is too many tiles to manually author, or even for the game to load.
Instead, the game assembles what is needed to cover a single triangle out of several different pre-authored pieces, called modules. Planet uses several tricks to keep the number of modules as low as possible.
Landscaping
For now, let’s forget about different terrain types, and assume everything is grassland. What remains to worry about is the terrain height. Recall, there is no procedural mesh generation in the game, everything is made by sticking together pre-authored modules.
Planet works by converting the heightmap into a 3d latice of points, then filling in that lattice in a Marching Cubes like process. This allows us to re-use the same modules at multiple heights, and deal with large differences in heights by having segments of vertical wall.
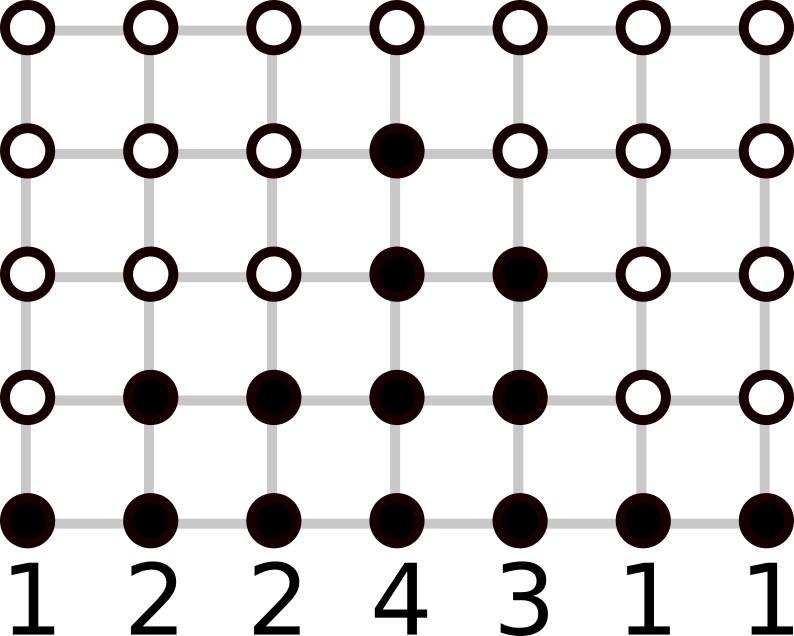
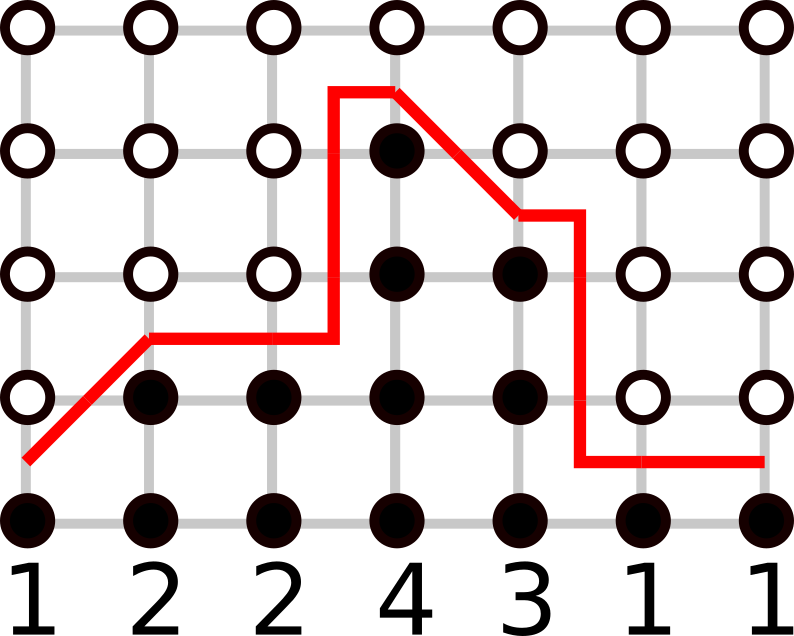
I’ll illustrate with a 2d example. Suppose we have a one dimensional array of heights.

Now we draw a lattice that extends vertically above that heightmap, and store a bool per lattice point, depending on if it’s under the corresponding height.
Finally, we select what we want to draw, as in normal marching cubes.
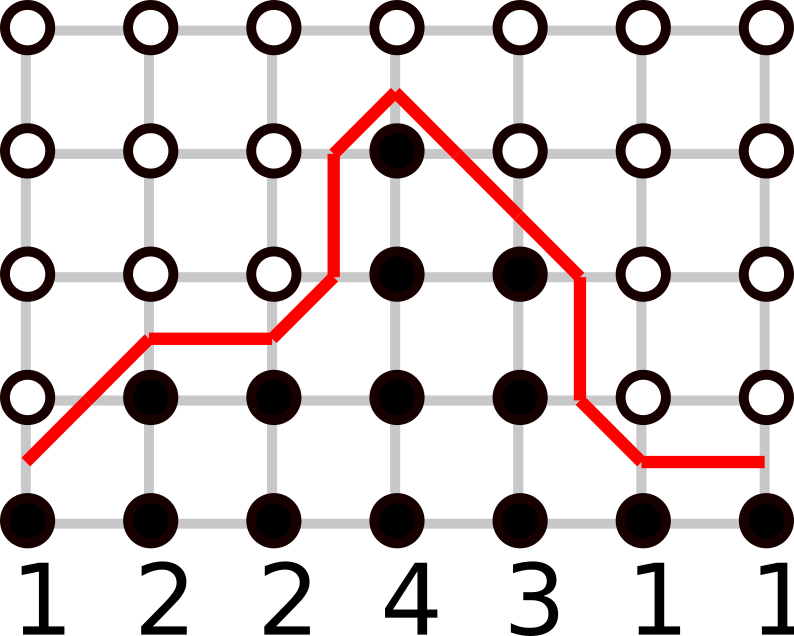
In this 2d case, you only need a tiny number of modules to cover all combinations.

Extrapolating to 3d is not too complex, though you do need more modules to do it. One consolation is that in 3d, because of the triangular base grid, we end up with triangle prisms that need filling, rather than cubes. Having only 6 corners intead of 8 means much fewer combinations to deal with.
Cliffs
The tiles above are good for smooth rolling hills. But for steep cliffs, it looks a little goofy that the foot and crest of each hill is angled. So Planet includes variant tiles for starting and ending cliffs, i.e. adjacent heights with a difference of 2 or more.
In our 2d example, that only needs 4 tiles, but in 3d there’s quite a few combinations.
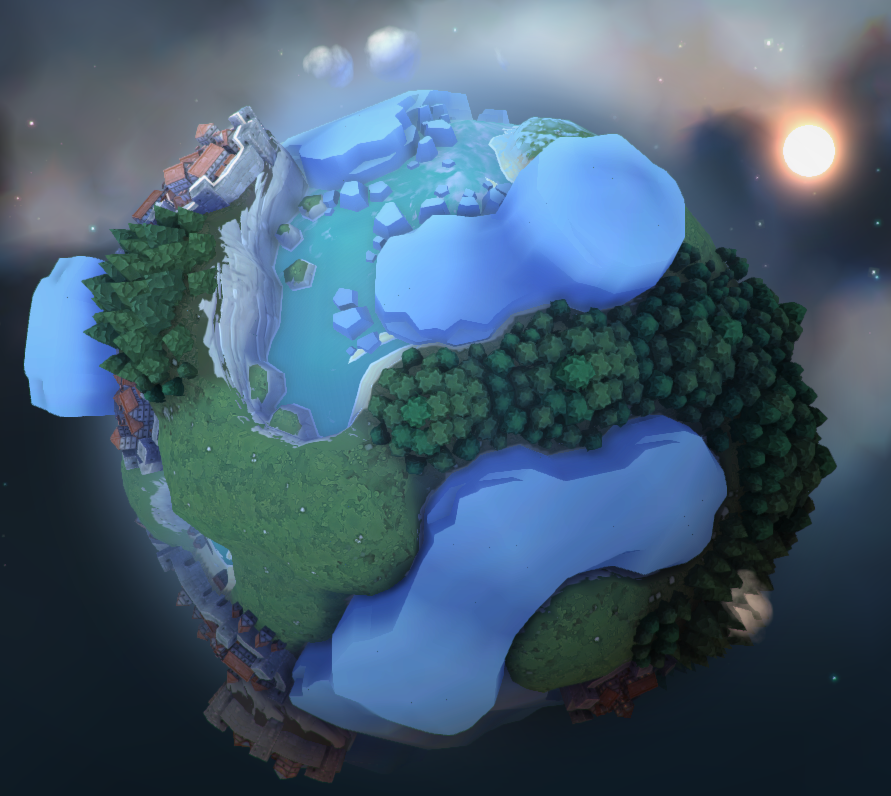
Planet also has a set of variant tiles for beaches – where the terrain joins the ocean at the bottom level of the height map.
Other layers
The above trick allows us to choose the modules to represent any height map. In order to support multiple terrains, Planet simplies applies the same trick multiple times, overlaying all the modules on top of each other.
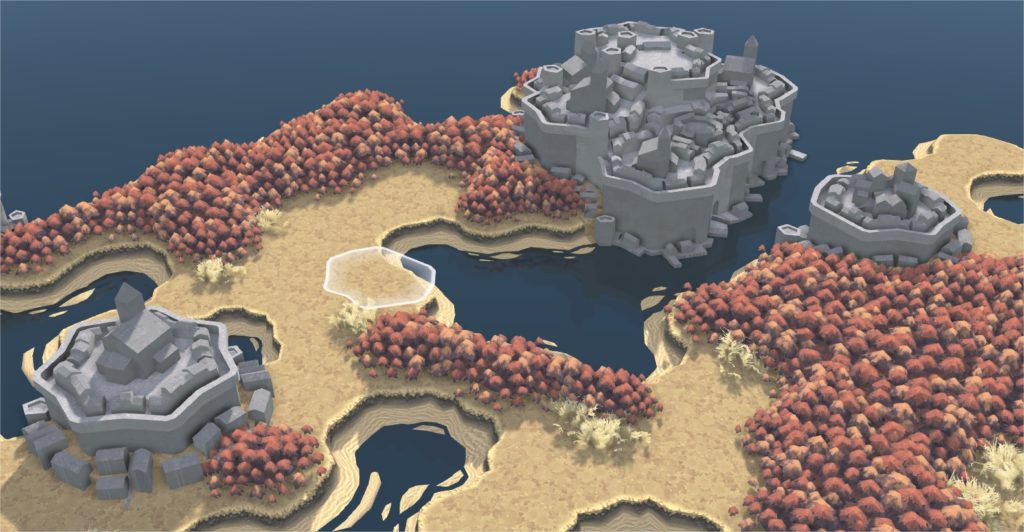
First it draws a base landscape purely from the original heightmap. It’s the same module regardless of terrain type (though a texture shader is used to color them differently).
Then we make a new heightmap based on the old one by setting any non-glacier areas to height 0. This is used to place a set of glacier modules.
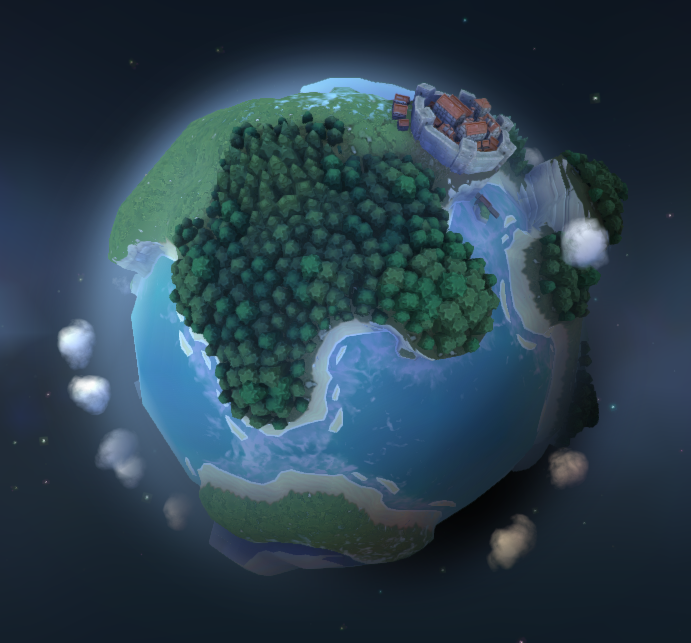
Similarly, we make a heightmap to single out where to place city walls (and the small building near the walls), and where to place trees, filtering the original heightmap appropriately.
Vertex meshes
One final trick is used for the cities. If you look closely, you may notice that every time you place a city, the central buildings are exactly the same.
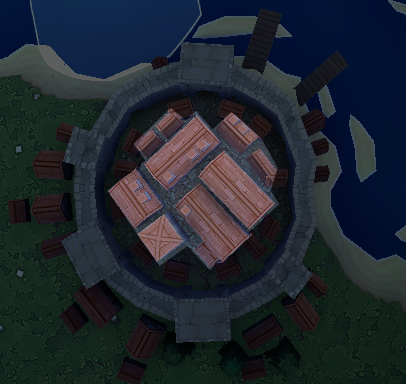
This block of buildings is simply placed over every vertex with the city terrain. It’s not attached to a particular triangle. Doing this helps “break the grid”, so cities look squarish instead of the triangular and hexagonal shapes that would arise from trying to build connecting trianglular tiles. Unfortunately, these buildings often overlap the smaller buildings that are included as part of the city wall modules, but it’s hardly noticable.
Something similar is done for forest tiles.
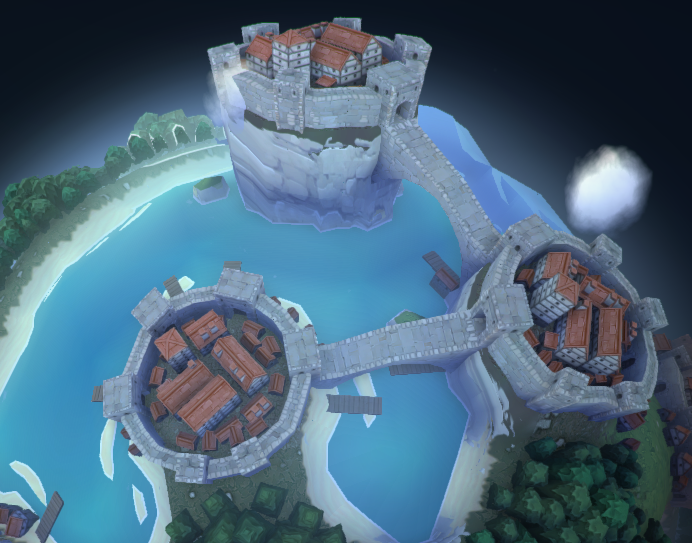
Bridges
Much like cliff modules care about modules vertically next to them, there is also the special case of bridge modules, which only spawn in certain patterns of height and terrain classes. But the pattern is larger than a single triangle, so they need custom code to detect that pattern.
In later projects, Oskar has used Wave Function Collapse, which is a lot smarter about picking mutually consistent tiles without hand rolling the algorithms. Really, Planet has a tiny number of tiles compared with his later projects.
Technical Art
Once all the basic modules have been placed, a considerable amount of artistry goes into making the world pretty and organic. Some of the touches you may have noticed:
- custom ambient occlusion
- a mini fluids simulation for waves in ocean tiles
- tiles near the poles get increasingly snow-capped using a shader
- volumetric clouds and a animated moon, atmospheric glow
By the time all this is done, the tile based nature of the planet is almost completely invisible.
Summary
I think Planet is a tour-de-force. In a sense it’s a stepping stone between Brick Block and the author’s later WaveFunctionCollapse based projects like Townscaper, but I think it achieves a more natural feel than any of the others. It shows you don’t have to use WFC in order to have sophisticated tile selection.
Bonus Material
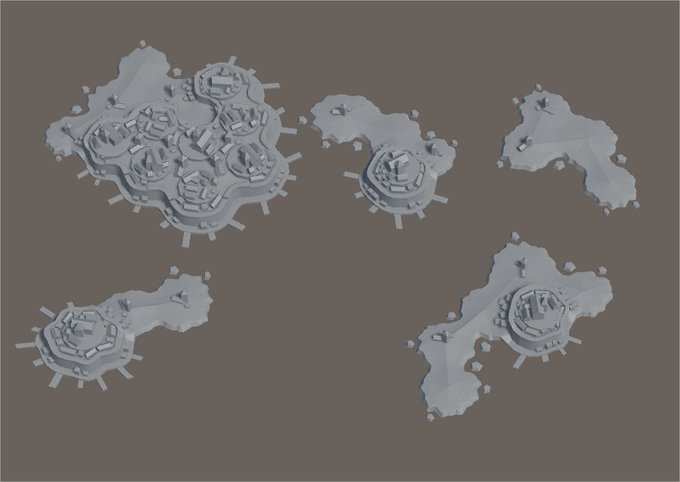
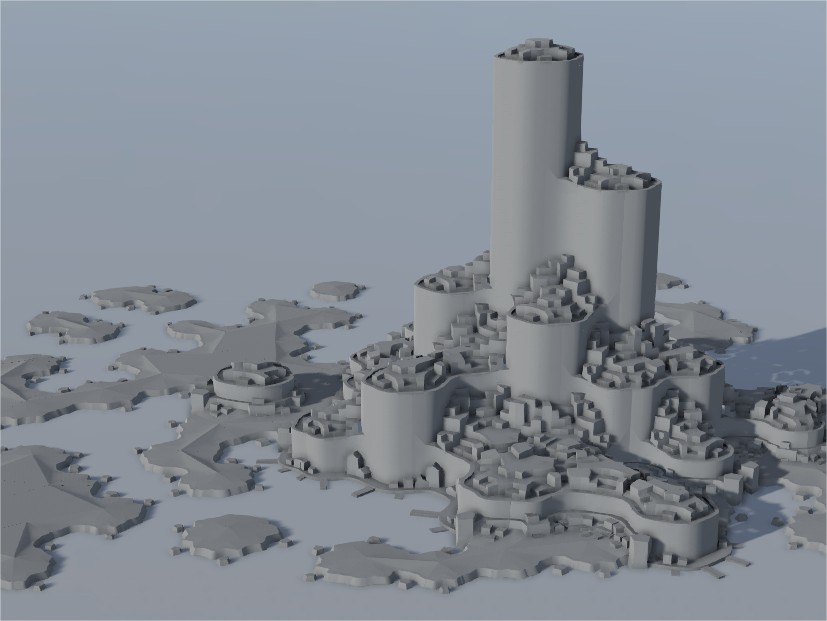
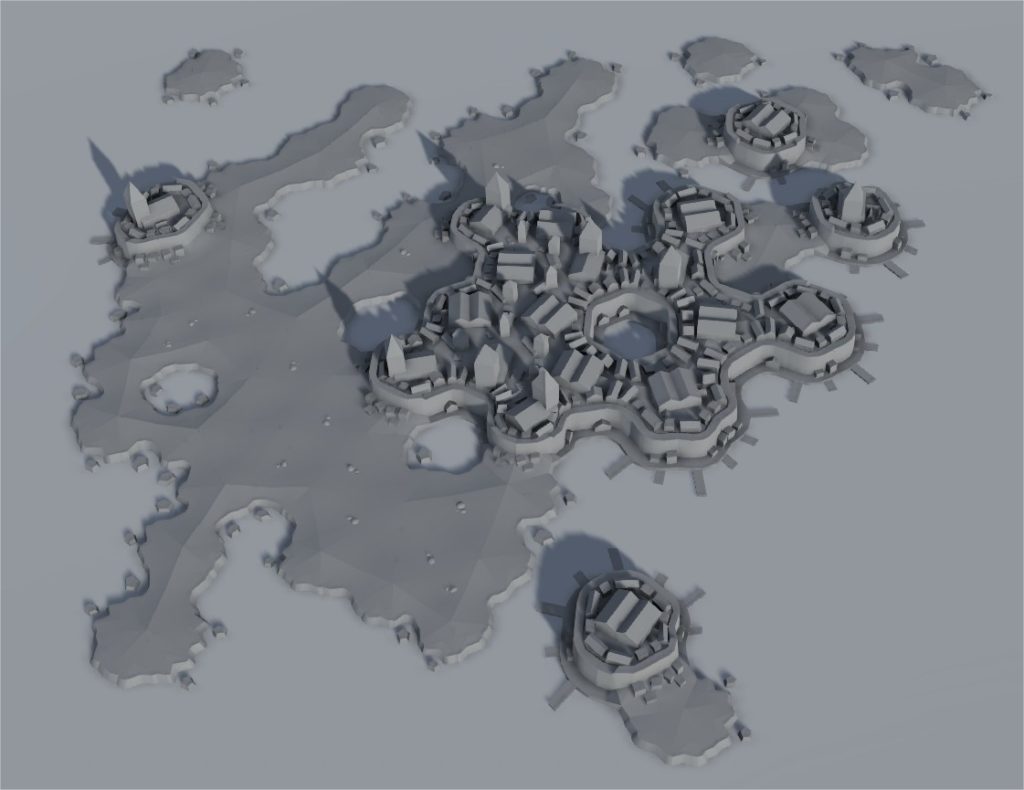
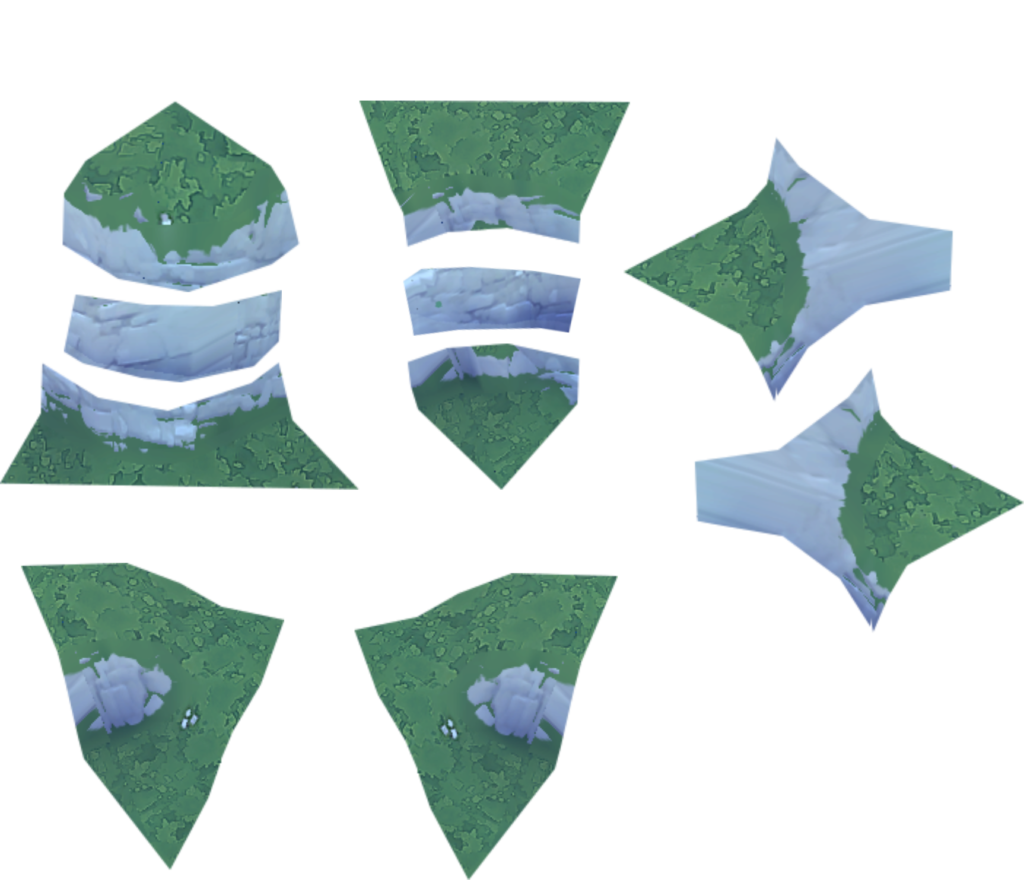
Oskar gave me some pics from the development of Planet that I couldn’t find a use for, but I wanted to share.